Gauge sizing is crucial across diverse applications, from tyre pressure and temperature to model railways and electrical wiring. Understanding
these measurements ensures safety, efficiency, and compatibility within specific systems. Accurate gauge selection is paramount for optimal performance.
What is Gauge and Why is it Important?
Gauge, in its broadest sense, represents a standardized measurement used to define dimensions or capacity. Its importance stems from ensuring consistency, interchangeability, and safety across various applications. For instance, in tyre pressure gauges, accurate readings are vital for vehicle handling and fuel efficiency. Similarly, temperature gauges are critical for monitoring and controlling processes in industrial and automotive settings.
Within model railways, gauge dictates the distance between rails, impacting compatibility with rolling stock. In electrical wiring, wire gauge directly correlates to ampacity – the maximum current a wire can safely carry – preventing overheating and fire hazards. Utilizing the correct gauge, therefore, isn’t merely about precision; it’s about operational reliability and preventing potentially dangerous situations. Proper gauge selection guarantees optimal system performance and longevity.
Applications of Gauges (Tyre, Temperature, Model Railways, Wire)
Tyre pressure gauges, available in digital, dial, and stick formats, ensure optimal vehicle performance and safety by maintaining correct inflation levels. Temperature gauges, utilizing technologies like bimetallic strips or thermocouples, monitor heat in industrial processes, automotive systems, and HVAC setups.
Model railways employ specific gauges – OO/HO, N, and G – defining track width and compatibility. Selecting the right gauge is crucial for a functional layout. Finally, wire gauges are paramount in electrical applications, dictating a wire’s ampacity. Charts and tables help determine the appropriate gauge based on circuit amperage, preventing overloads and ensuring electrical safety. Each application demands precise gauge selection for reliable operation and safety.

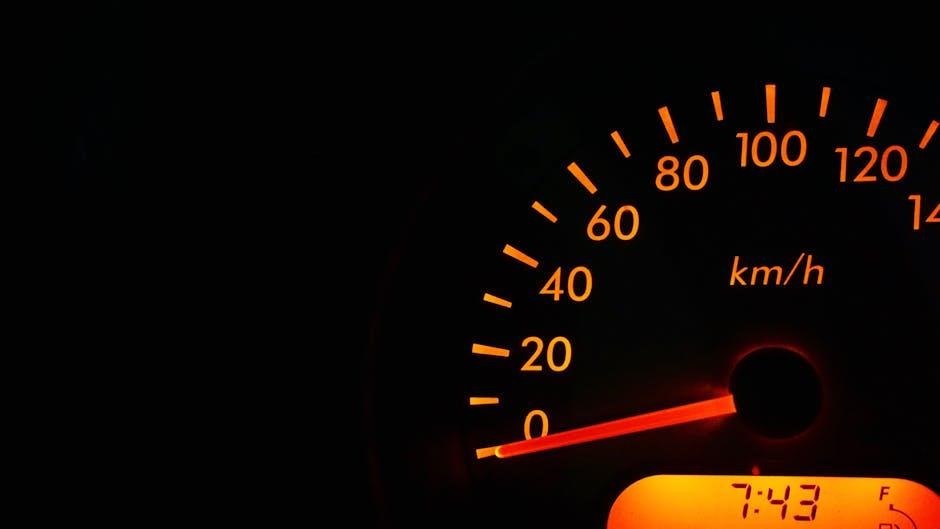
Tyre Pressure Gauges: A Detailed Look
Tyre pressure gauges are essential for vehicle maintenance, offering accuracy in PSI, Bar, and kPa. Regular calibration ensures reliable readings for optimal tyre performance.
Types of Tyre Pressure Gauges (Digital, Dial, Stick)
Digital tyre pressure gauges provide precise readings on an LCD screen, often including features like auto-shutoff to conserve battery life, as seen in portable compressors. These gauges are known for their ease of use and accuracy, making them popular for both professional and personal use.
Dial tyre pressure gauges utilize a mechanical system with a needle indicating pressure on a calibrated dial. They are generally considered highly accurate and don’t require batteries, offering reliable performance. Many feature a large, easy-to-read dial, like the 60 psi models available.
Stick tyre pressure gauges, also known as pencil gauges, are the simplest and most affordable option. They feature a sliding bar that extends to indicate pressure. While less precise than digital or dial gauges, they are compact and convenient for quick checks. These gauges often display measurements in both PSI and Bar.
Reading Tyre Pressure: PSI, Bar, and kPa
Tyre pressure is commonly measured in three primary units: PSI (pounds per square inch), Bar, and kPa (kilopascals). Understanding these units is crucial for accurate inflation. Most tyre gauges display readings in PSI, but many also include Bar and kPa scales for international compatibility.

PSI is the standard unit in the United States, while Bar is prevalent in Europe. Conversion is straightforward: 1 Bar is approximately equal to 14.5 PSI. kPa is a metric unit often used in scientific and industrial applications, with 1 Bar equaling 100 kPa.

Always refer to the vehicle manufacturer’s recommended tyre pressure, typically found on a sticker inside the driver’s side doorjamb or in the owner’s manual. Using the correct unit and pressure ensures optimal handling, fuel efficiency, and tyre lifespan. Accurate readings are vital for safety.
Accuracy and Calibration of Tyre Gauges
Tyre gauge accuracy is paramount for maintaining correct tyre pressure, impacting vehicle safety and performance. Digital gauges generally offer higher precision than dial or stick types, but all gauges can drift over time. Regular calibration is therefore essential.
To check accuracy, compare your gauge’s reading against a known accurate source, such as a professionally calibrated gauge at a tyre shop. If discrepancies exist, adjustments may be possible on some dial gauges. Digital gauges may require battery replacement or professional servicing.
ANSI B40.1 certification indicates a gauge meets specific accuracy standards. Investing in a certified gauge provides greater confidence in readings. Consistent, accurate tyre pressure contributes to even tyre wear, improved fuel economy, and enhanced handling, ultimately ensuring a safer driving experience.

Temperature Gauges: Measuring Heat
Temperature gauges utilize diverse technologies – bimetallic strips, thermocouples, and RTDs – to precisely measure heat across industrial, automotive, and HVAC systems.
Types of Temperature Gauges (Bimetallic, Thermocouple, Resistance Temperature Detectors)
Bimetallic strip temperature gauges are mechanically simple, relying on the differential expansion of two metals bonded together to move a pointer. They are cost-effective for general-purpose applications. Thermocouples, conversely, generate voltage proportional to temperature differences, offering a wider range and faster response time, ideal for high-temperature industrial processes.
Resistance Temperature Detectors (RTDs) utilize the change in electrical resistance of a metal (typically platinum) with temperature. RTDs provide high accuracy and stability, making them suitable for precision measurements in laboratories and critical industrial control systems. Each type possesses unique strengths; selection depends on the specific application’s temperature range, accuracy requirements, and environmental conditions. Understanding these differences is vital for choosing the appropriate gauge.
Applications of Temperature Gauges (Industrial, Automotive, HVAC)
Industrial processes heavily rely on temperature gauges for monitoring and controlling critical parameters in manufacturing, chemical processing, and power generation. Precise temperature regulation ensures product quality and safety. In the automotive sector, gauges monitor engine coolant, oil, and exhaust gas temperatures, preventing overheating and optimizing engine performance.
HVAC (Heating, Ventilation, and Air Conditioning) systems utilize temperature gauges to maintain comfortable indoor environments and optimize energy efficiency. These gauges monitor air and water temperatures within the system. Accurate temperature monitoring across these diverse applications is essential for operational efficiency, safety, and regulatory compliance. Selecting the correct gauge type for each application is paramount for reliable performance and longevity.
Understanding Temperature Scales (Celsius, Fahrenheit)
Temperature scales are standardized systems for measuring thermal energy. Celsius (°C), widely used in scientific contexts and most of the world, defines 0°C as the freezing point of water and 100°C as its boiling point. Conversely, Fahrenheit (°F), primarily used in the United States, sets the freezing point of water at 32°F and the boiling point at 212°F.
Understanding the conversion between these scales is crucial when interpreting temperature gauge readings. The formula to convert Celsius to Fahrenheit is °F = (°C × 9/5) + 32, and Fahrenheit to Celsius is °C = (°F ⎻ 32) × 5/9. Accurate interpretation of these scales ensures correct assessment of temperature levels and appropriate responses, particularly in applications demanding precision and safety. Choosing a gauge displaying the appropriate scale for the user is vital.

Model Railway Gauges: Scale and Compatibility
Model railway gauges define the distance between rails, impacting scale and compatibility. Common gauges include OO/HO, N, and G, each offering different levels of detail.
Common Model Railway Gauges (OO/HO, N, G)
OO gauge (1:76 scale) and HO gauge (1:87 scale) are arguably the most popular, offering a balance between detail and practicality. OO is predominantly British, while HO dominates in North America and continental Europe. N gauge (1:160 scale) is significantly smaller, allowing for extensive layouts in limited spaces, though with reduced detail. It’s favored when large, complex scenes are desired.
Conversely, G gauge (1:22.5 scale) is the largest commonly used scale, often employed for garden railways due to its robustness and weather resistance. G gauge models are visually impressive but require considerable space. Each gauge dictates track radius compatibility; tighter curves are possible with smaller gauges. Choosing a gauge involves considering available space, desired level of detail, and budget. Hornby offers extensive ranges in OO gauge, catering to various skill levels and interests.
Track Radius and Gauge Compatibility
Track radius, the curvature of the track, is intrinsically linked to gauge. Smaller gauges – like N gauge – can accommodate tighter radii curves than larger gauges, such as G gauge. This is because the smaller wheels and shorter wheelbase of the trains allow for sharper turns without derailing. Conversely, larger trains require wider curves.
Incompatibility arises when attempting to run trains of one gauge on track designed for another. For example, an OO gauge train will not operate correctly on N gauge track, and vice versa. Hornby’s R608 3rd Radius Curve exemplifies a common radius used within OO gauge layouts. Mismatched radii can lead to derailments, damage to track or locomotives, and generally poor running performance. Careful consideration of these factors is vital when planning and building a model railway.
Choosing the Right Gauge for Your Layout
Selecting the appropriate model railway gauge depends on several factors. Space is a primary consideration; smaller gauges like N gauge require significantly less room than larger ones like G gauge. Detail preference also plays a role – larger gauges generally offer greater levels of detail, while smaller gauges prioritize compactness.
Budget is another key aspect. Smaller gauges are often more affordable, both in terms of track and rolling stock. Hornby offers various starter sets in OO gauge (1:76 scale), providing a convenient entry point. Consider the availability of models in your desired scale and the complexity of the layout you envision. Ultimately, the “right” gauge is the one that best suits your available space, budget, and desired level of realism and operational enjoyment.

Wire Gauge Sizing: Electrical Applications
Wire gauge directly impacts ampacity – the current-carrying capacity. Selecting the correct gauge, based on circuit amperage, is vital for safety and preventing overheating.
Ampacity and Wire Gauge Relationship
Ampacity, defined as the maximum current a conductor can safely carry, is inversely proportional to wire gauge. A lower gauge number signifies a thicker wire, capable of handling higher amperage without excessive heat buildup. This relationship is fundamental to electrical safety and system performance.

Thicker wires offer less resistance to electrical flow, minimizing voltage drop and ensuring efficient power delivery. Conversely, thinner wires present greater resistance, leading to increased heat and potential fire hazards if overloaded. Electrical codes meticulously define ampacity ratings for various wire gauges, considering factors like insulation type and installation conditions.

Understanding this connection is crucial for selecting the appropriate wire size for any electrical circuit. Ignoring ampacity limits can result in damaged insulation, overheating, and potentially catastrophic failures. Always consult relevant electrical codes and utilize wire gauge charts to ensure compliance and safety.
Determining Wire Gauge Based on Circuit Amperage
To determine the correct wire gauge, first ascertain the circuit’s total amperage draw. This involves summing the wattage of all devices connected to the circuit and dividing by the operating voltage. Once the amperage is known, consult a wire gauge chart or table.
These charts correlate amperage with corresponding wire gauges, accounting for factors like wire material (copper or aluminum) and insulation type. It’s crucial to select a wire gauge with an ampacity rating equal to or greater than the calculated circuit amperage. Always err on the side of caution and choose a heavier gauge if unsure.
Consider voltage drop, especially for long circuit runs. Longer distances necessitate thicker wires to maintain adequate voltage at the load. Proper wire gauge selection prevents overheating, reduces fire risk, and ensures efficient electrical system operation. Ignoring this step can lead to significant safety hazards.
Wire Gauge Charts and Tables
Wire gauge charts and tables are indispensable tools for electrical work, providing a quick reference for selecting the appropriate wire size based on amperage and circuit length. These resources typically list American Wire Gauge (AWG) numbers alongside their corresponding ampacity ratings for various insulation types – like THHN, THWN, and Romex.
Charts often differentiate between copper and aluminum wires, as aluminum requires a larger gauge to carry the same amperage. They also frequently include voltage drop calculations to assist in determining the correct gauge for longer runs. Online calculators and printable tables are readily available from electrical supply retailers and industry websites.
Understanding how to interpret these charts is vital. Always verify the chart’s specifications align with your local electrical codes and the specific application. Utilizing a reliable chart ensures safe and compliant wiring practices, preventing potential hazards and ensuring optimal system performance.